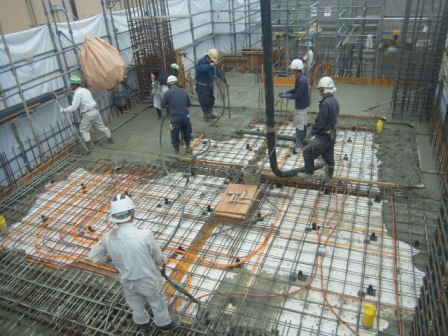
☆3階躯体工事


カテゴリー
朝日建設のHP!


最近の記事
過去の記事
- 2016年3月 (2)
- 2016年2月 (2)
- 2016年1月 (3)
- 2015年12月 (3)
- 2015年11月 (2)
- 2015年10月 (3)
- 2015年9月 (3)
- 2015年8月 (3)
- 2015年7月 (3)
- 2015年6月 (5)
- 2015年5月 (2)
- 2015年4月 (4)
記事を検索する
☆3階躯体工事
カテゴリー
朝日建設のHP!
最近の記事
過去の記事
記事を検索する